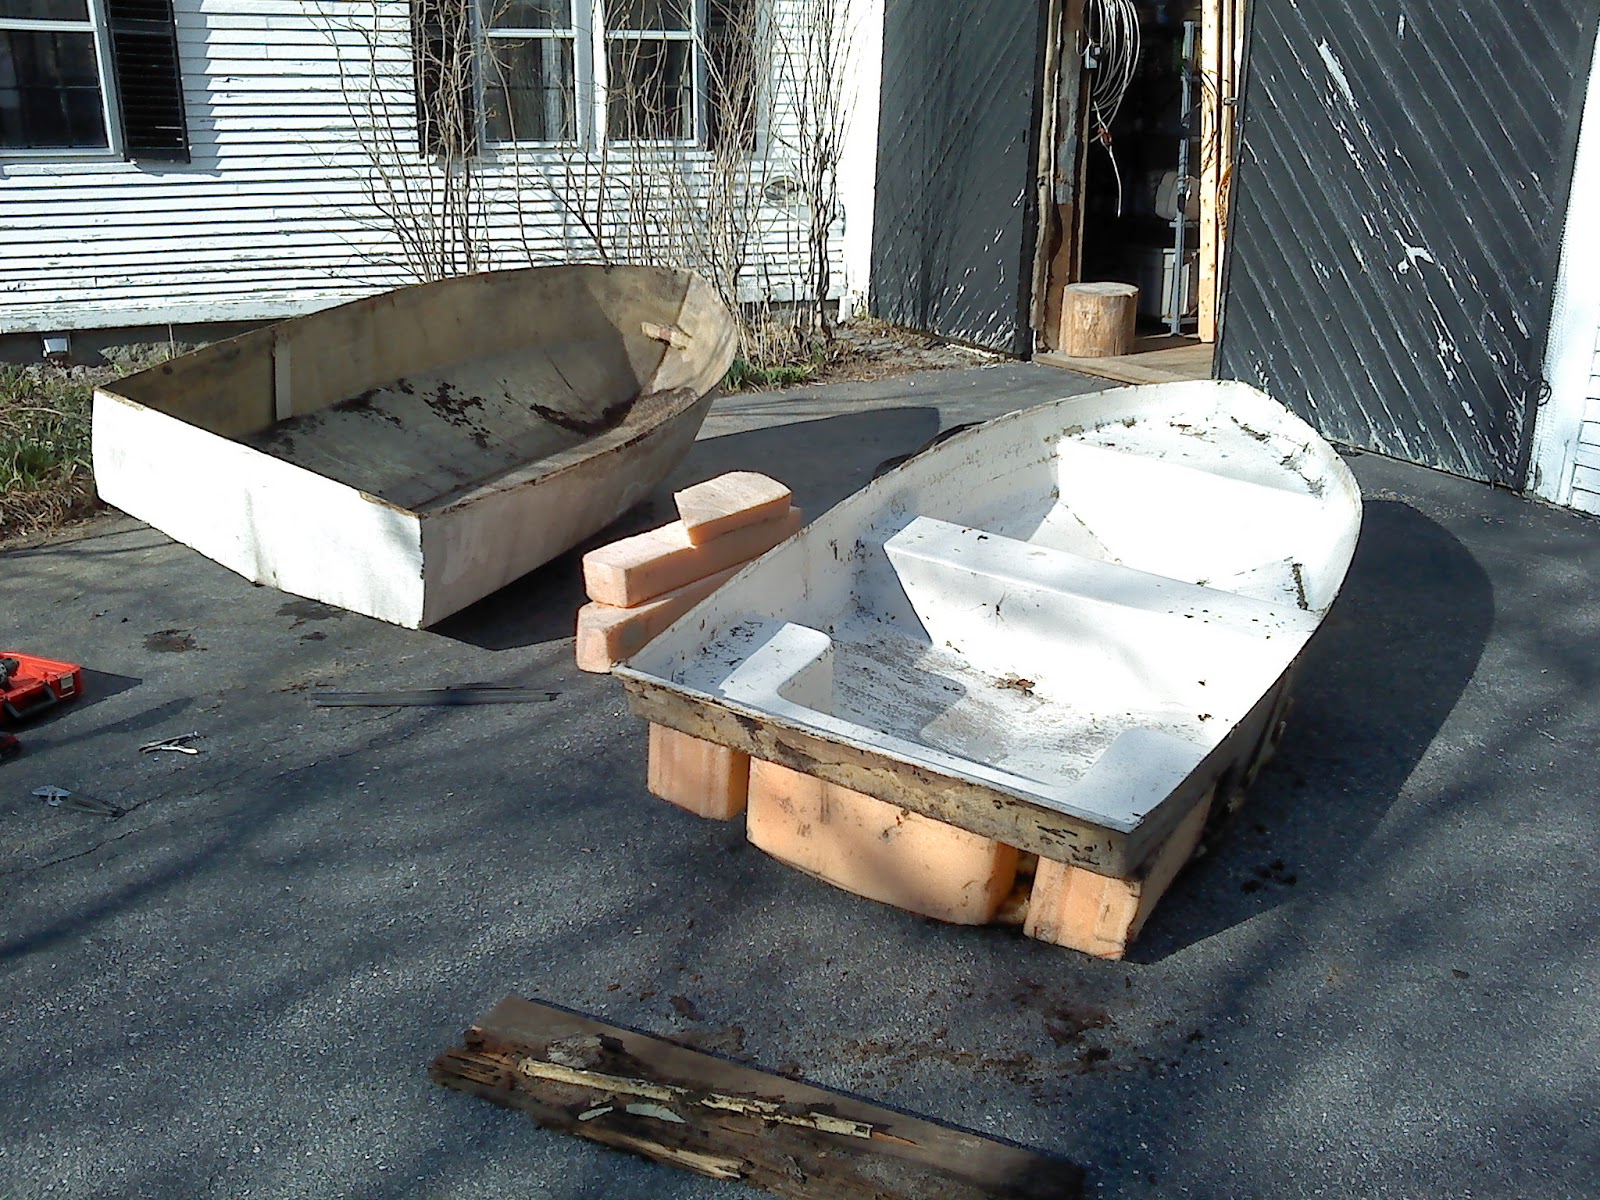
 This was the major project yesterday. I split my one of three made dingy into two separate pieces. Why you ask? Two reasons: It weighs 16 tons, and the pieces were separating anyway from 20 years of sitting on a beach. I figured, what the heck, I'll split the pieces and see what is up. You can see the result to the left. What is very neat about this dingy is how much flotation there is in the boat. I was to say it's unsinkable, but we all know what happened to the Titanic. Instead, I think I shall say it is mighty difficult to sink. All of the spaces between the two halves are filled with foam of both the spray in type and the hard block type. That makes for a lot of floatation in a small dingy.
 What you have to the left is a picture of ants. Yes, ants in the fiberglass dingy. A whole colony of them. This was part of the reason for the weight. Not because ants are heavy, but because they had tracked in LOTS of earth with them.

Some of the earth was from the transom board that was soaking wet and full of holes from the ants feasting their way though it. When I grabbed on to the board, if fell apart in my hands. That was one of the sources of weight, as a waterlogged board is quite heavy. The dingy (Im thinking about calling it Half-shell) will need some minor work and a set of oar locks to be useable. Other than that, this is looking like a really great 2nd rescue and free dingy!
 |
| Hey Spring, I'm ready when you are! |
Non- Half-shell Adventures

Before I started priming the lazarette hatches, I had to trim them. They were slightly too wide to fit into the cockpit benches. I got the trusty angle grinder out and carnage ensued. I could have gone with a sander, or something similar, but I wanted FAST!!! The angle grinder accomplishes FAST!!! like you would not believe. Because I have used it a lot for both glass and non-glass projects, I felt comfortable using it. With glass projects, if you are not careful, it is VERY VERY VERY easy to slip or not pay attention for a split second and take way too much material off. When you do that, either you leave it as is, or you go back and fill in the mistake and start the sanding process all over again. Fortunately, I did not make any mistakes with the grinder, so I could go straight to priming.
SEACOCKS

No comments:
Post a Comment