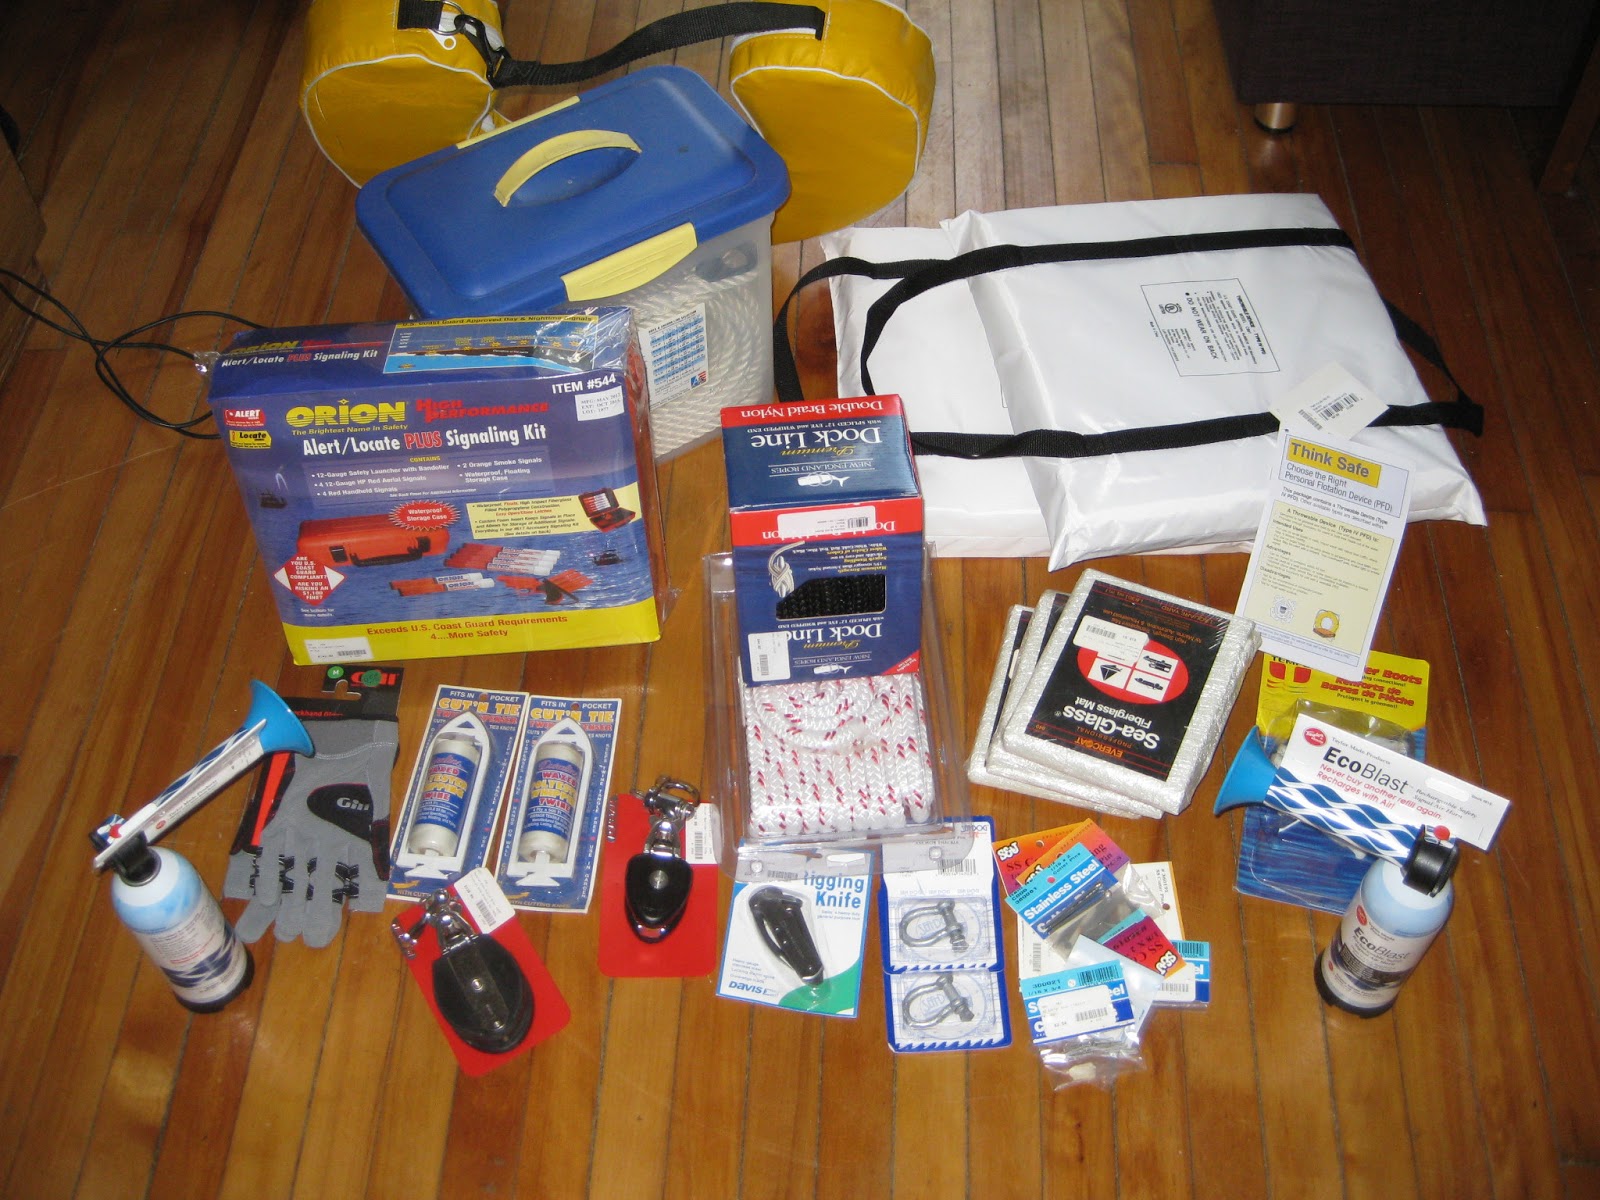
 I'm sad to see The Boat House close, as they were so good to us at summer camp in terms of getting us parts, deals on boats, and in general just being great people. I've bought things from them in the past, but never like this. They are having a blowout sale, and with just about everything 70% off, its going to make hitting my budget targets a little easier. Unfortunately, with everything 70% off, it also makes me want to buy things that I WANT rather than NEED. To be honest, some of the things that I got I could have done without, but most of the things that I did get are mostly based on safety and meeting US Coast Guard regulations. For example, I got flares that won't expire til 2015, throw-able Type IV flotation aids, and air horns. A lot of the other things are parts and repair related. For example, shackles, cotter pins, ring-dings, fiberglass mat, and waxed whipping twine.
 BUILDING
 Okay, so now that I have justified buying a boat load of stuff, here is what I have accomplished on the hatch project. Here is one of the lazarette hatches in place on the boat. It is a little tough to see in the photo, but it over hangs the cockpit bench by over an inch, because I forgot to account for the hinge and spacer that came off of the previous hatch. It is okay, though, because its only fiberglass and can be cut and re-glassed and be as good as new. It is more work than I wanted to do, but that is what I get for not totally thinking out the entire project before jumping in and getting something done.

 Two weeks ago, my dad and I built the main hatch for the companionway. It had not occurred to me just how difficult it was going to be to build the hatch from measurements taken without really having a plan on how to construct the hatch in the first place. What compounded the issue is that my dad's shop is about 50 miles from where the boat is. I think it is also important to look at what we started with when working on a big project. To the right is the hatch that came off the boat. As you can see, is was beyond useable. It literally fell apart when I tried to open it last October when trying to decide if I was going to get the boat. Some days I think that I should have taken things like with a heavier grain of salt. On the other hand, I have been dreaming of owning my own boat for years, so jumping in over my head was probably the only way it was actually going to happen.
  We started with building a frame out of spruce that I got for free from the abandoned building a few months ago. Spruce is really strong because of it's long grain structure, so was used a lot for building airplanes before they all went to aluminum frames and skins. It is also quite light in weight for its size. All told, the hatch (before fiber glassing) only weighs about 15-20 pounds. That included the two layers of plywood that cover the frame top and the hardware.
 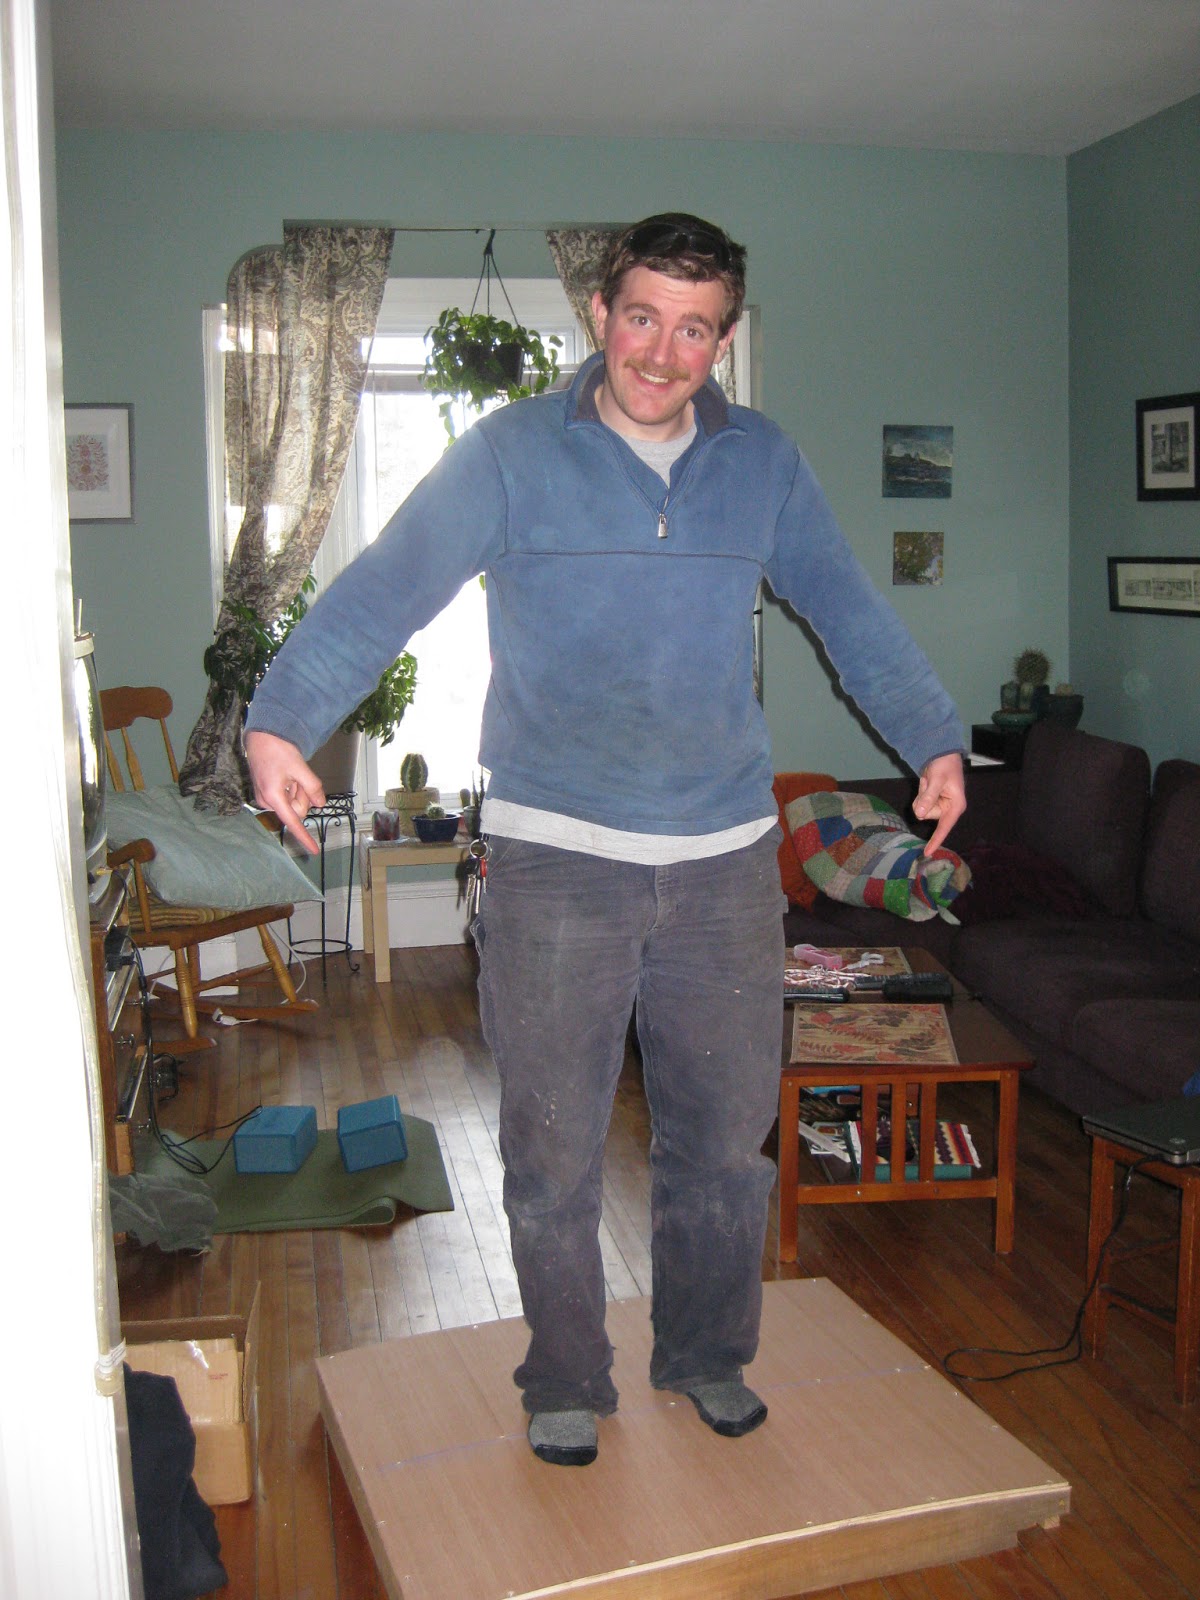 The previous hatch was flat, so it therefore did not shed water. I did not want to go through the entire process of building a hatch to have it rot because of standing water. We cut a curve into the cross pieces to give a one inch rise to the center of the hatch. This should be more than enough to shed water, but to be on the safe side, the hatch will also be covered in fiberglass to make sure that the water does not penetrate though and rot the wood.
 When I was on the boat a few weeks ago, I was crawling all over the place trying to get a second tarp in place, as the first is very Pope-like, and no longer sheds water thoroughly. At some point I crawled over the cabin top where the main hatch slide, and the whole cabin top flexed significantly under my weight. I knew then why one of the rails had broken away from the cabin top, and also realized that I needed to make a hatch that could actually stand up to being stood on. If the hatch can take 200ish pounds standing on it before being glassed, I would have to say that I did a good job making a strong hatch. And yes, I am actually standing on the hatch, I was NOT photoshopped in.
FITTING
 The next step in the process was to see if the hatch that was built actually fit. The initial verdict was no. I am usually not one to be dissuaded from something that I have already works so hard on, so out came the power tools, the sharpies, and the brain power, and the trimming began. It was not the prettiest fitting job that anyone has done, but it at least got the job done so that the hatch can slide most of the way into place, but I will get to that in a minute. For the first try, the hatch would not even slide onto the rails. I had not realized the optical illusion the that curved cabin top had played on me. The outside edges of the rail are angled, not perfectly vertical. The sides of the frame ARE perfectly vertical, and so the bottom edges had to be cut away. I bent a blade to my reciprocating saw, but that is okay. I had no other means to trim the hatch, so a bent blade is an acceptable cost of getting the job done. When I get up to the shop this weekend, I will be able to sand the cuts smooth, instead of the rough hack job they are currently.

Once I could slide the hatch onto the rails, I found out the the measurements I had taken for the forward most cross piece had been off. You can see the sharpie marks from me trying to trace myself a line to follow with the saw. I did not want to take off too much material, because once you cut it, its gone, which is why I had several lines. I could take off a bit, fit it again, and see how much more I had to take off.
Jenny took this picture of the triumph of getting the hatch on the boat. Here is the sticky part: I also did not account for the lip of the companionway being curved with the rest of the cabin top. This is actually a good thing. It means that I can take the aft most crosspiece out, and because it does not clear the companionway lip, it will not slide off forward. What sucks is that I glued the crosspiece into place. I have to figure out how to un-glue waterproof wood glue. It might be time to break out the chisel. To be honest though, I am really excited to have hatches that are going together quite well, even without being able to test them immediately on the boat. With all projects there are hiccups, and lets be honest, how else am I going to learn????
No comments:
Post a Comment